
Have you ever found yourself scrambling at lunchtime, reaching for unhealthy options because you didn’t have anything better prepared?
Introduction
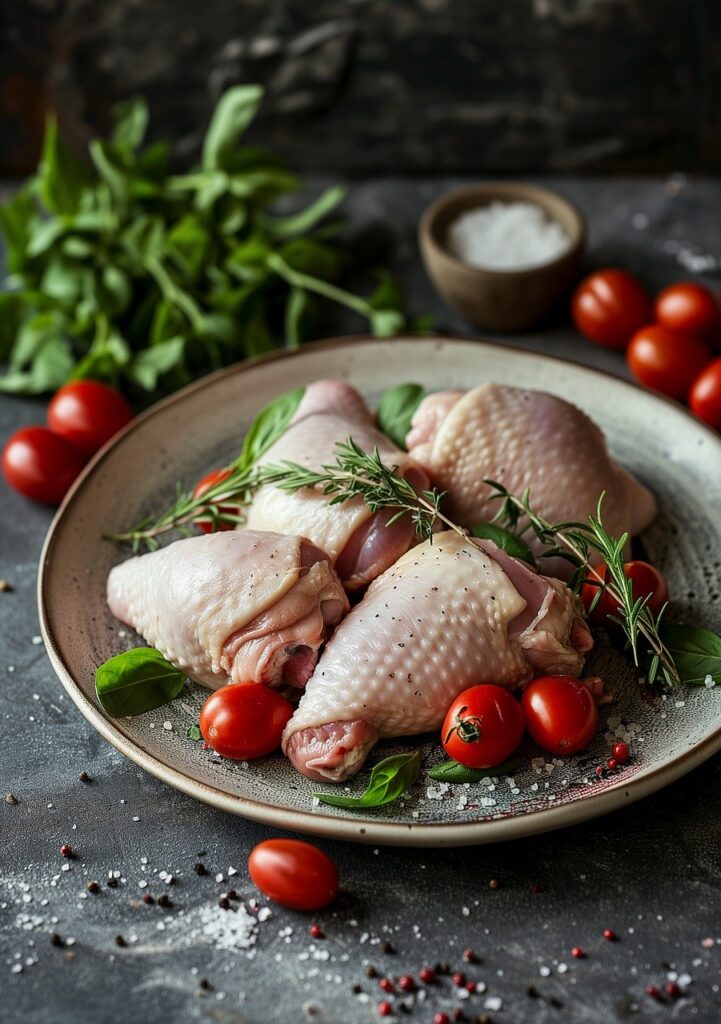
Meal prepping can be an absolute game-changer for anyone looking to live a healthier lifestyle. By dedicating just a few hours each week, you can ensure that you have nutritious, delicious meals ready to go at a moment’s notice. In this guide, you’ll learn how to meal prep for a week of healthy lunches, step by step.
Benefits of Meal Prepping
The advantages of meal prepping extend far beyond just having meals ready. Here are some points to consider:
Saves Time
Imagine how much time you can save by having all your lunches prepped and ready to go. By investing a few hours one day of the week, you eliminate the daily need to decide, prepare, and cook.
Financial Savings
Eating out or grabbing last-minute meals can add up quickly. Preparing meals in advance allows you to buy ingredients in bulk, reduce waste, and keep your food budget in check.
Healthier Choices
When you prep your meals, you’re more in control of the ingredients, portion sizes, and nutritional content. This makes it easier to stick to a balanced, healthy diet.

Getting Started with Meal Prepping
Plan Your Menu
The first step is planning what you want to eat for the week. Consider variety and balance in your meals to make them enjoyable and nutritious.
List of Ingredients
Once you have your menu, create a comprehensive shopping list. Organize it by sections (produce, grains, proteins, etc.) to make grocery shopping quicker.
Gather Necessary Tools
Ensure you have the right tools for prepping. You’ll need:
- Containers (preferably glass or BPA-free plastic)
- A good set of knives
- Cutting boards
- Measuring cups and spoons
- Pots and pans
Example Meal Plan for a Week
Let’s break down a sample meal plan to give you a clear idea.
| Day | Meal |
|---|---|
| Monday | Grilled chicken with quinoa and mixed veggies |
| Tuesday | Lentil soup with avocado slices |
| Wednesday | Turkey and vegetable stir fry with brown rice |
| Thursday | Chickpea salad with spinach and feta |
| Friday | Baked salmon with sweet potato and broccoli |
| Saturday | Veggie wraps with hummus |
| Sunday | Quinoa and black bean bowl with fresh salsa |
Preparing Ingredients
Proteins
Cooking your proteins in large batches can save significant time.
Chicken
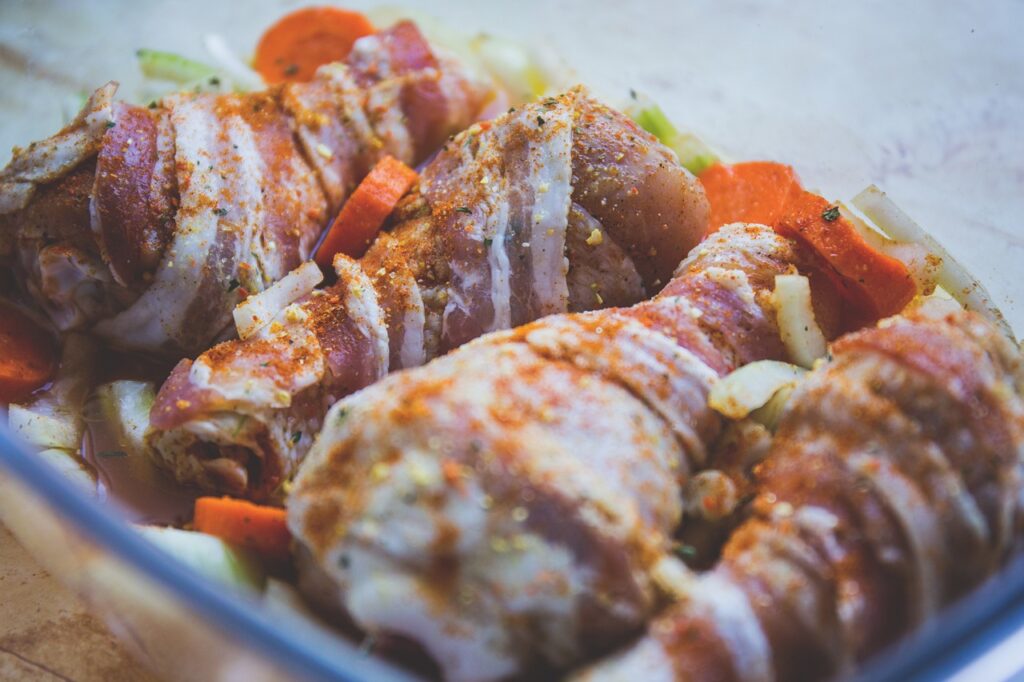
Grill or bake multiple chicken breasts. Once cooked, let them cool before cutting into desired sizes.
Turkey
Ground turkey can be cooked and seasoned in a large skillet. Divide into portions once cooled.
Grains
Grains like quinoa, brown rice, and bulgur can be cooked in bulk.
Quinoa
Rinse quinoa before cooking. Use a 2:1 water-to-quinoa ratio and simmer until water is absorbed.
Brown Rice
Cook brown rice with a 2:1 water-to-rice ratio. Allow it to cool before portioning.
Vegetables
Vegetables can be pre-chopped and roasted for easy access.
Roasted Veggies
Toss mixed vegetables (like bell peppers, zucchini, and carrots) with olive oil and seasonings. Roast at 400°F for 20-30 minutes.
Soups and Stews
Soups and stews are ideal for meal prepping since they generally taste better after a day or two.
Lentil Soup
Cook lentils with vegetables (carrots, celery, onions) and seasonings. Allow to cool and then store in containers.
Storing Your Meals
Containers
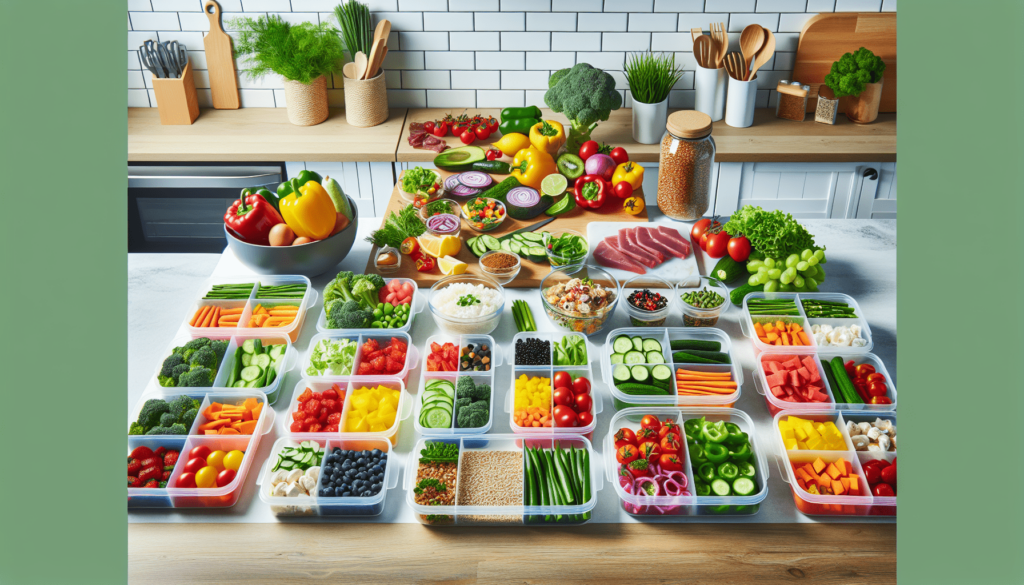
Invest in high-quality, airtight containers. Glass containers are preferable as they don’t retain odors and can be used in microwaves.
Labeling
Label each container with the meal name and date to ensure you’re consuming them within a safe period.
Refrigeration and Freezing
Store the meals you’ll be eating within the next few days in the fridge. Those you plan to eat later in the week can often be frozen to maintain freshness.
Reheating Meals
Safe Reheating Practices
When reheating, make sure your food reaches an internal temperature of 165°F. This ensures that any harmful bacteria are eliminated.
Microwave Tips
To keep your food from drying out in the microwave, cover it with a microwave-safe lid or a damp paper towel.
Incorporating Snacks and Sides
Healthy Snacks
Having healthy snacks readily available can complement your meal prep efforts.
Fresh Fruit
Keep washed and cut fruits like apples, berries, and oranges.
Nuts and Seeds
Portion out servings of almonds, walnuts, or sunflower seeds into small containers.
Simple Sides
Proteins and grains often leave room for smaller additions.
Hard-Boiled Eggs
Boil a batch at the beginning of the week and store in the fridge.
Veggie Sticks
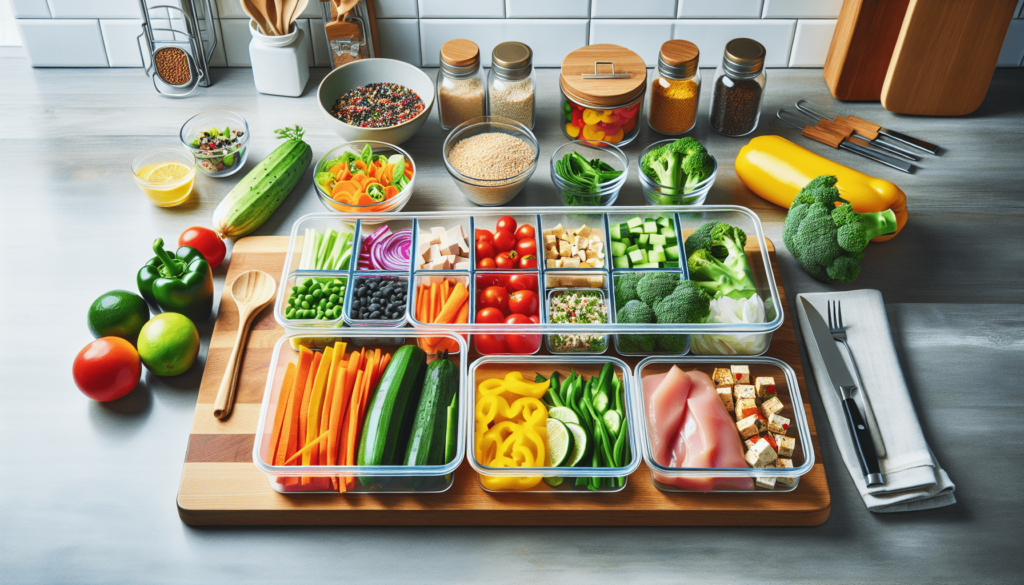
Cut up vegetables like carrots, celery, and cucumber for easy grab-and-go sides.
Tips for Successful Meal Prepping
Start Small
If you’re new to meal prepping, start with just a few days’ worth of meals to avoid feeling overwhelmed.
Keep It Simple
Choose recipes that don’t require extensive preparation or complicated techniques, especially in the beginning.
Use Theme Days
Having themed meal days (e.g., Meatless Mondays, Taco Tuesdays) can simplify the decision-making process.
Frequently Asked Questions
How long can prepped meals be stored?
Generally, prepped meals last about 4-5 days in the refrigerator. If you need them to last longer, consider freezing.
Can you meal prep for breakfast and dinner as well?
Absolutely! The same principles apply. You can prep overnight oats, smoothie packs for breakfast, and dinners like casseroles or grilled proteins with sides.
What if I get bored of eating the same thing?
Variety is key to successful meal prepping. Try alternating your proteins, carbs, and veggies each week to keep your meals exciting.
Conclusion
Meal prepping is a powerful tool to help you maintain a healthy lifestyle without the daily stress of figuring out what to eat. By planning, organizing, and dedicating some time to prepare your meals, you can enjoy nutritious and delicious lunches all week long. Remember to start small, keep it simple, and enjoy the journey towards a healthier you. Happy prepping!