
Have you ever found yourself feeling tightness or soreness in your muscles after a workout or a long day of sitting at your desk? Chances are, your muscles might benefit from a bit of myofascial release. A foam roller can be a fantastic and affordable tool to aid in this process. Let’s take a detailed look at the best ways to use a foam roller for myofascial release and recovery.

What is Myofascial Release?
Myofascial release is a technique involving the stretching and massaging of the fascia, the connective tissue that surrounds your muscles. When fascia becomes tight or restricted, it can lead to pain and reduced mobility. When you use a foam roller, you’re essentially giving yourself a deep tissue massage to alleviate this tightness.
Why Use a Foam Roller?
Using a foam roller has numerous benefits. It helps improve flexibility, reduces muscle soreness and stiffness, and enhances blood flow. It’s also an excellent method for warming up before physical activities. With consistent use, you can speed up your recovery time and reduce the risk of injuries.

Choosing the Right Foam Roller
Types of Foam Rollers
There are various types of foam rollers, each serving a different purpose. Understanding these will help you select the one best suited for your needs.
| Type | Description | Best For |
|---|---|---|
| Standard Roller | Smooth surface, medium density. Easily available. | General use, beginners |
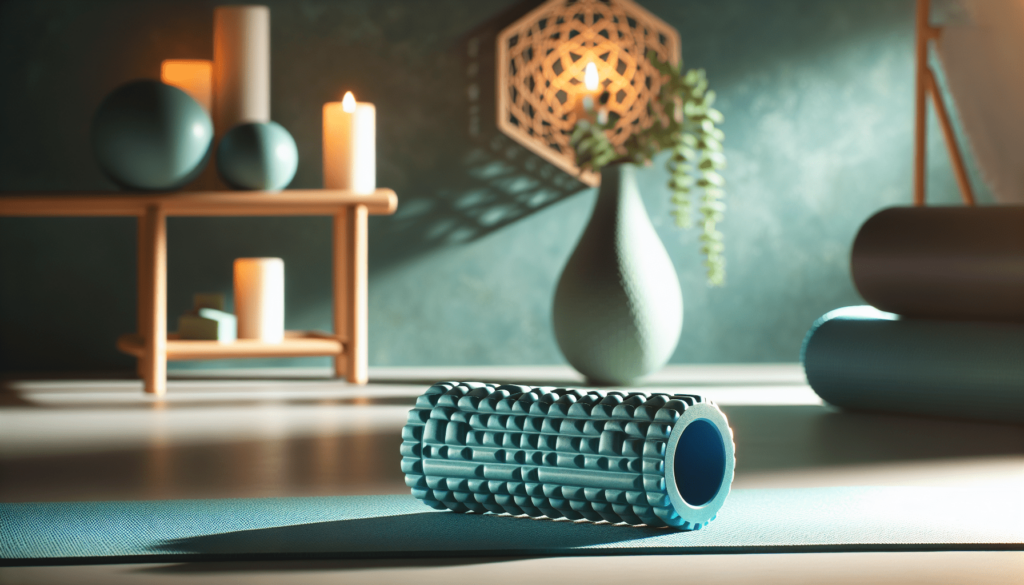
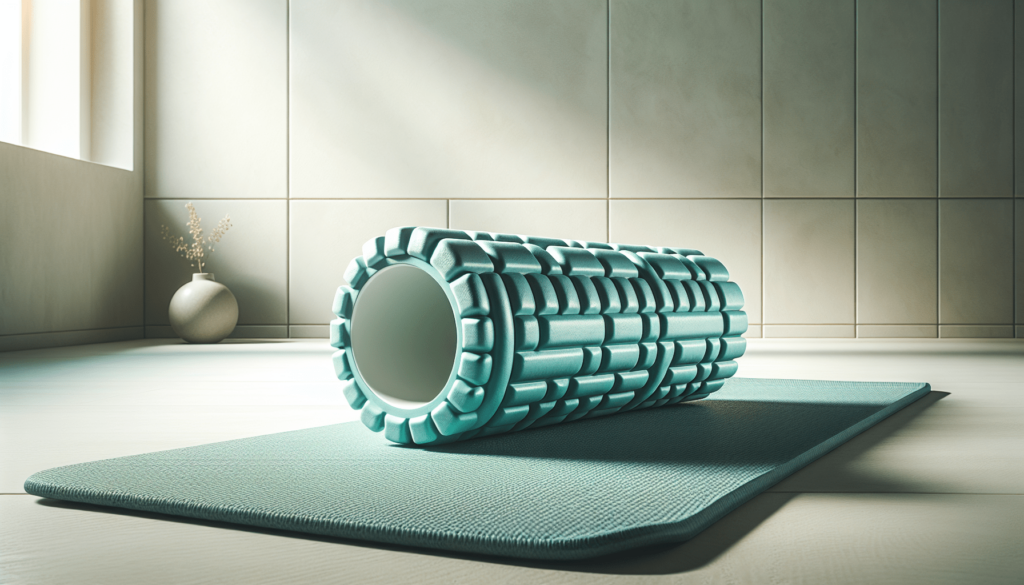
| Textured Roller | Features ridges and knobs for deeper massage. | Experienced users, target deep knots |
| Firm Roller | High-density foam, less compressible. | Intense pressure, deeper massage |
| Soft Roller | Low-density foam, more compressible. | Beginners, sensitive areas |
| Half Roller | Flat on one side and rounded on the other. | Balance training, gentle massage |
What to Look For in a Foam Roller
When choosing a foam roller, consider the following factors:
- Density: Higher density foam rollers offer more intense pressure, while softer ones are better for beginners or those with sensitive muscles.
- Texture: Textured foam rollers provide a deeper massage compared to smooth ones.
- Size and Shape: Choose based on the area you are targeting and the portability you require.
How to Use a Foam Roller
General Guidelines
Before using a foam roller, keep these general tips in mind:
- Start Slow: Begin with a less dense roller until you get accustomed to the pressure.
- Duration: Spend 1-2 minutes on each muscle group.
- Avoid Joints and Bones: Roll only on muscles, not directly over joints or bones.
- Control Your Movement: Keep your movements slow and controlled to ensure proper muscle engagement.
- Relax: Try to relax your muscles as much as possible to allow for effective release.
Basic Foam Rolling Techniques
Let’s go through some basic techniques for different parts of your body.
Quads
- Positioning: Lie face down with the foam roller under your thighs.
- Rolling: Support your weight on your hands and roll from just above your knees to your hips.
- Key Points: Pause on tight spots for about 30 seconds.
Hamstrings
- Positioning: Sit on the floor with the foam roller under your thighs.
- Rolling: Use your hands to lift your hips off the ground and roll from below your glutes to above the knees.
- Key Points: Roll one leg at a time for a more focused release.
Calves
- Positioning: Sit on the floor with the foam roller under your calves.
- Rolling: Lift your hips and roll from the ankles to the knees.
- Key Points: Flex and point your toes to target different parts of the calf muscle.
IT Band
- Positioning: Lie on your side with the foam roller under your outer thigh.
- Rolling: Support your upper body with your hands and roll from just below your hip to just above the knee.
- Key Points: This can be quite sensitive, so start with a softer roller if necessary.
Glutes
- Positioning: Sit on the foam roller and cross one ankle over the opposite knee.
- Rolling: Lean slightly towards the leg that is crossed and roll over the glute muscle.
- Key Points: Spend extra time on any areas that feel particularly tight.
Back
- Positioning: Lie on your back with the foam roller under your mid-back.
- Rolling: Cross your arms over your chest and lift your hips slightly off the floor. Roll from your upper back to just above your lower back.
- Key Points: Avoid rolling directly on the lower back; instead, focus on the muscles around it.

Advanced Techniques
Once you’re comfortable with the basics, you can incorporate these advanced techniques for a more effective myofascial release.
Cross-Friction Techniques
This involves rolling at different angles across the muscle fibers rather than just along the muscle length. It helps break down deeper adhesions within the muscle tissue.
- Positioning: Similar to basic rolling.
- Movement: Instead of rolling up and down, roll side to side or at angles.
- Key Points: Use this technique sparingly as it can be quite intense.
Combine Stretching with Rolling
Integrating stretching exercises while using the foam roller can further enhance the benefits.
- Quads: After rolling, perform a quad stretch by pulling your heel to your buttocks.
- Hamstrings: Follow the rolling with a seated hamstring stretch.
- Calves: Perform calf stretches by leaning against a wall with one foot behind the other.
PNF (Proprioceptive Neuromuscular Facilitation)
You can incorporate PNF stretching techniques to get even deeper muscle relaxation. This involves contracting and relaxing muscles while stretching.
- Positioning: Find a comfortable rolling position.
- Contract: Contract the muscle for 5-10 seconds against resistance.
- Relax and Stretch: Relax the muscle and allow it to stretch deeper into the foam roller.
Common Mistakes to Avoid
Even though foam rolling is generally safe, there are some common mistakes to look out for:
Rolling Too Fast
Rolling too quickly does not allow the muscle to relax and can miss the tight spots. Slow and steady movements are more effective.
Spending Too Much Time on One Spot
While it’s important to target tight areas, spending too long on one spot can lead to bruising or inflammation. Stick to a minute or two per muscle group.
Rolling Directly on Injuries
If you have a recent injury, avoid rolling directly over it. Focus on the surrounding areas instead.
Foam Rolling Routine for Full-Body Recovery
A comprehensive foam rolling routine can cover all major muscle groups and aid overall recovery. Here’s a suggested routine:
| Muscle Group | Duration | Notes |
|---|---|---|
| Quads | 1-2 mins | Roll from the hip to just above the knee. |
| Hamstrings | 1-2 mins | Roll from glutes to just above the knee. |
| Calves | 1-2 mins | Roll from ankles to just below the knee. |
| IT Band | 1-2 mins | Roll from hip to just above the knee. |
| Glutes | 1-2 mins | Roll with ankle crossed over opposite knee. |
| Upper Back | 1-2 mins | Roll from mid-back to upper back. |
| Lats | 1-2 mins | Lie on one side and roll from armpit to mid-rib. |
| Chest | 1 min | Lie face down with roller under the chest, roll sideways. |
| Forearms | 1 min | Roll along the forearms with roller on a table. |
| Underarms | 1 min | Roll along the upper arms with roller on a table. |
Combining Foam Rolling with Other Recovery Techniques
Foam rolling should be part of a holistic recovery routine, not a solo treatment. Here are additional methods that complement foam rolling:
- Stretching: Dynamic and static stretching helps maintain flexibility.
- Hydration: Drink plenty of water to help flush out toxins from the fascia.
- Rest: Ensure adequate sleep and rest for muscle recovery.
- Nutrition: A balanced diet supports muscle repair and growth.
- Professional Massages: Occasionally treat yourself to a professional massage for deeper release.
Conclusion
By incorporating foam rolling into your daily routine, you can experience significant improvements in muscle flexibility, reduced soreness, and a faster recovery time. Remember to start slow, listen to your body, and complement foam rolling with other recovery techniques for the best results. Whether you’re an athlete or someone who sits at a desk all day, a foam roller could be your ticket to less muscle tension and greater overall well-being.